SET UP DIRECTIONS:
1. Ensure airbrush machine is charged before use. Charging time is 90 mins.
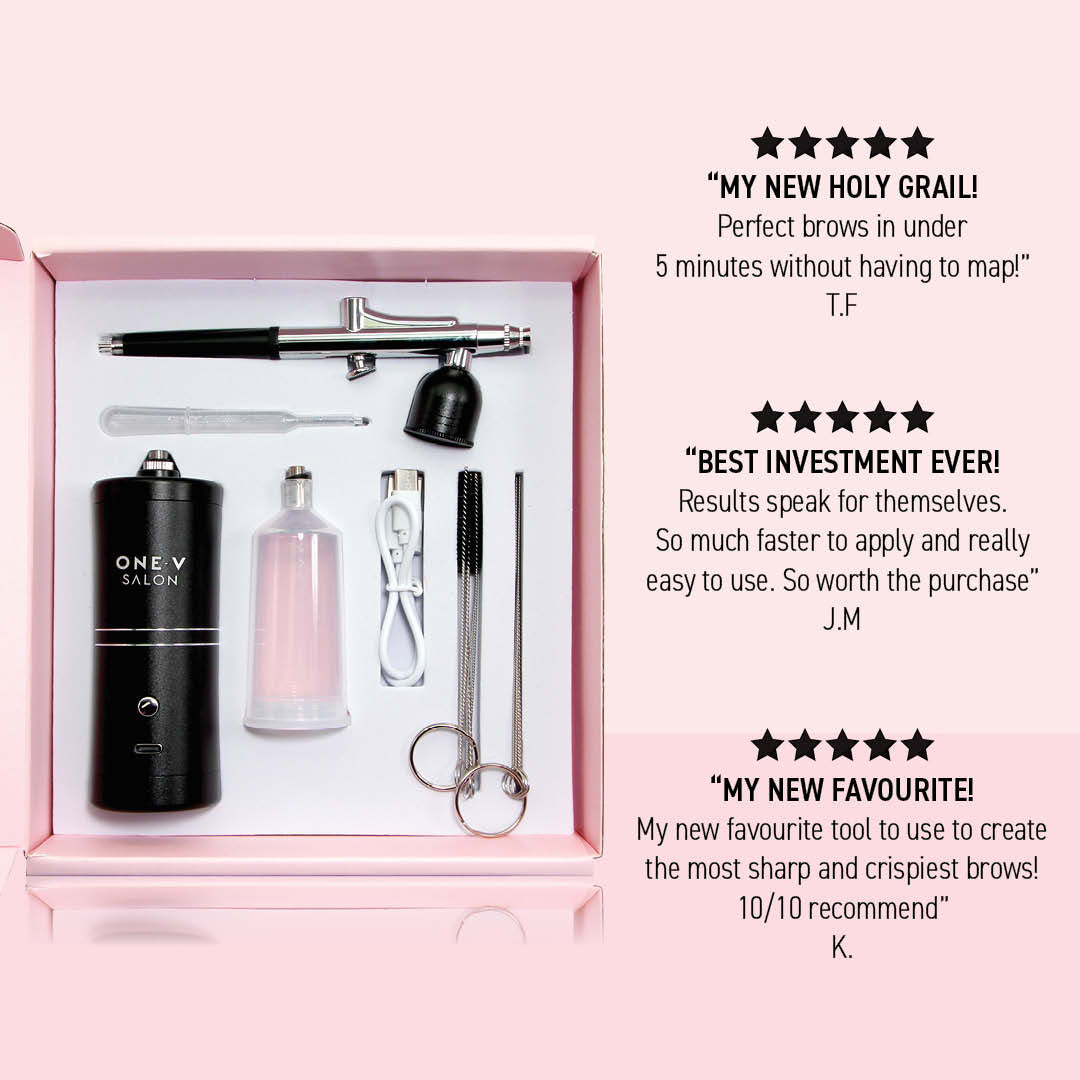
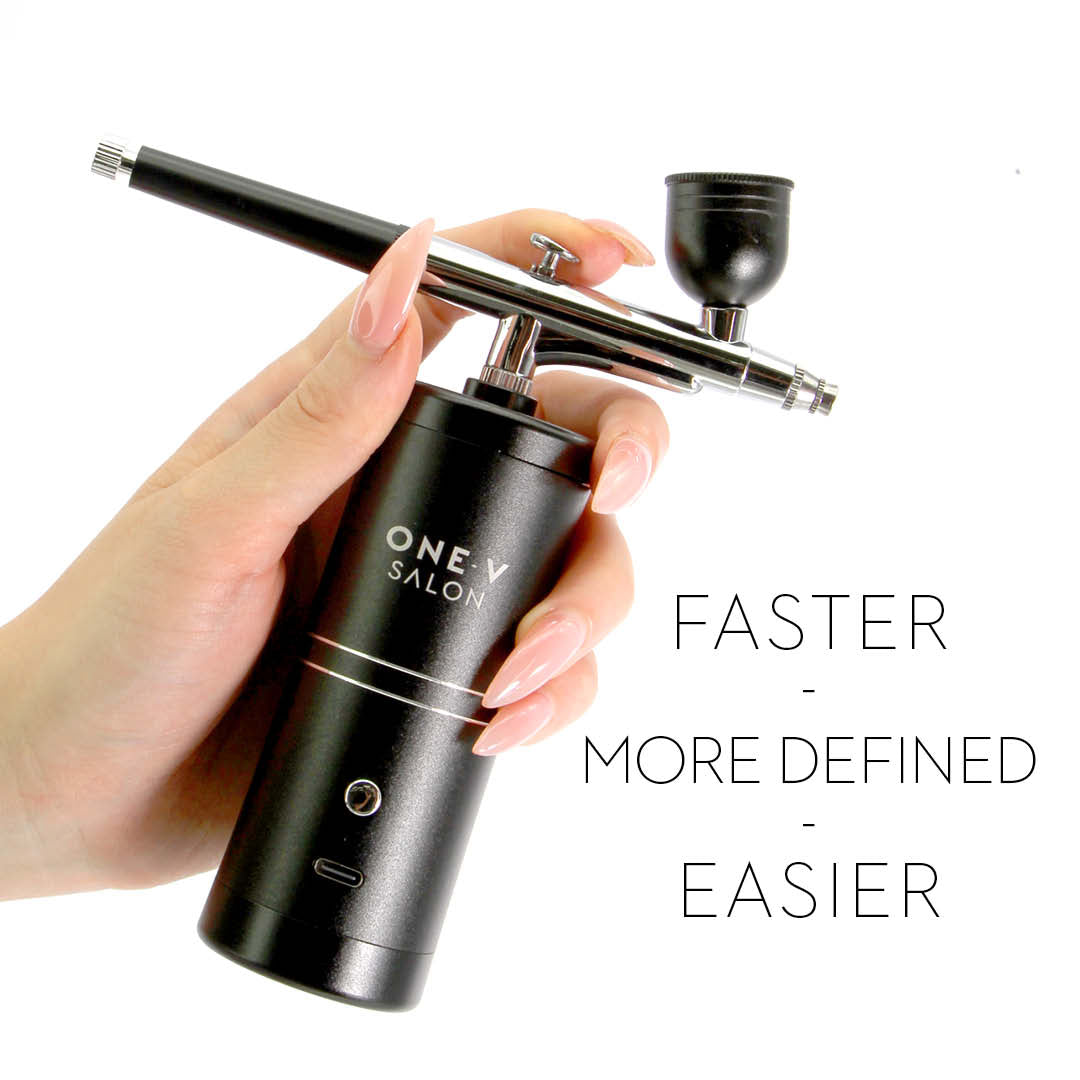
2. Begin by assembling the metal cup onto the Airbrush Machine.
3. Utilize the Output Gear to regulate the flow rate as needed.
4. Adjust the air pressure modes by pressing the designated button on the airbrush machine; a single press activates 20 PSI power, while a subsequent press engages 30 PSI power.
DIRECTIONS FOR USE:
- Before use, read all instructions of Liquid Dye, and Airbrush Liquid Activator.
- Always place Silicone Brow Shaping Stencils on eyebrows before setting up. (Please refer to the product instructions and cautions before use).
- Prepare the solution by mixing in a mixing bowl Liquid Dye 1:1 ratio with the Airbrush Liquid Activator. You will need minimum 7 drops of Liquid Dye and 7 drops of Airbrush Liquid Activator.
- Once thoroughly mixed, transfer the solution into the metal cup.
- We recommend testing the Airbrush Machine before applying to eyebrows. Set the Airbrush Machine to your preferred pressure and test spray onto a clean, dry cotton pad to check shade and consistency of the spray. This will help you determine the best distance to apply the mixture to the eyebrow.
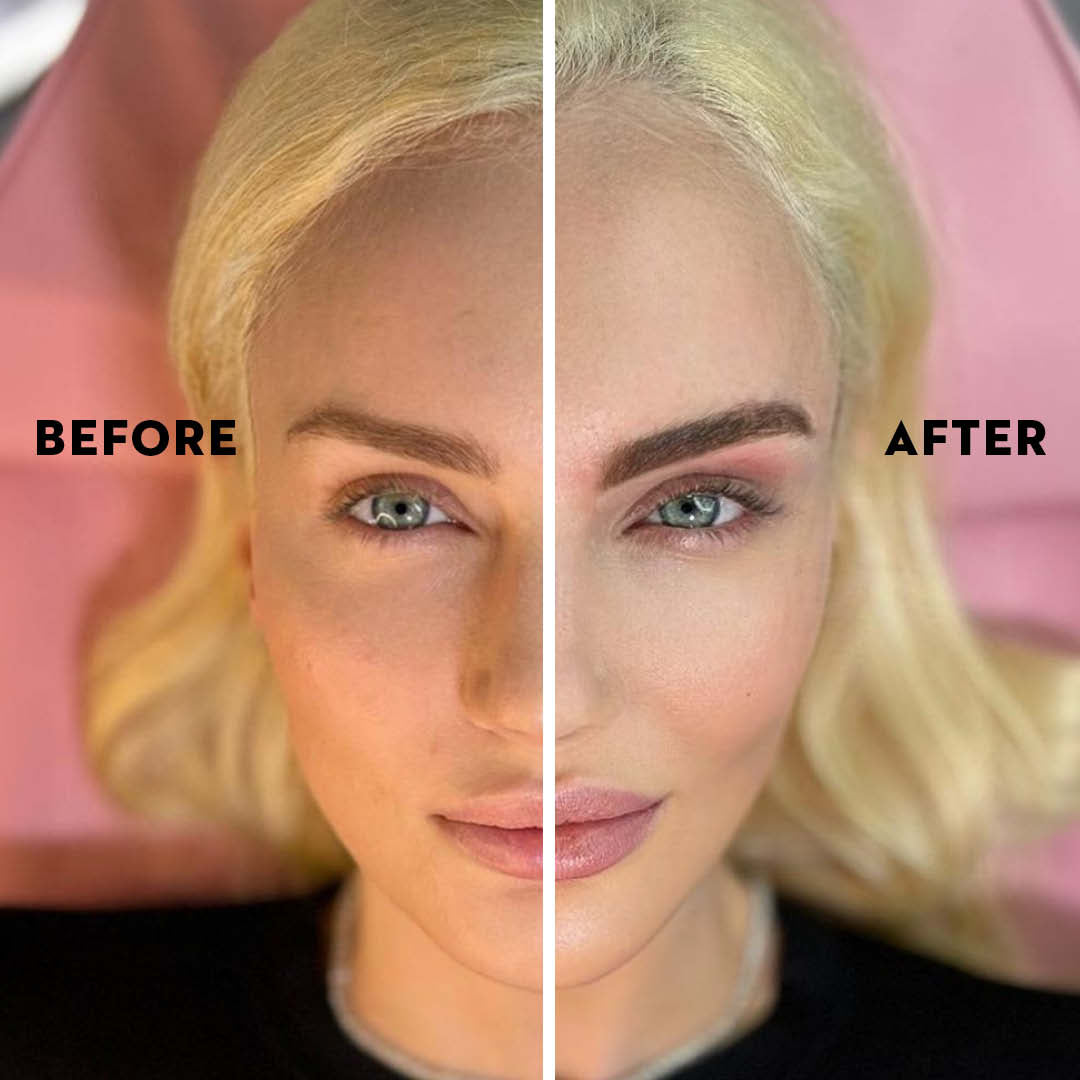
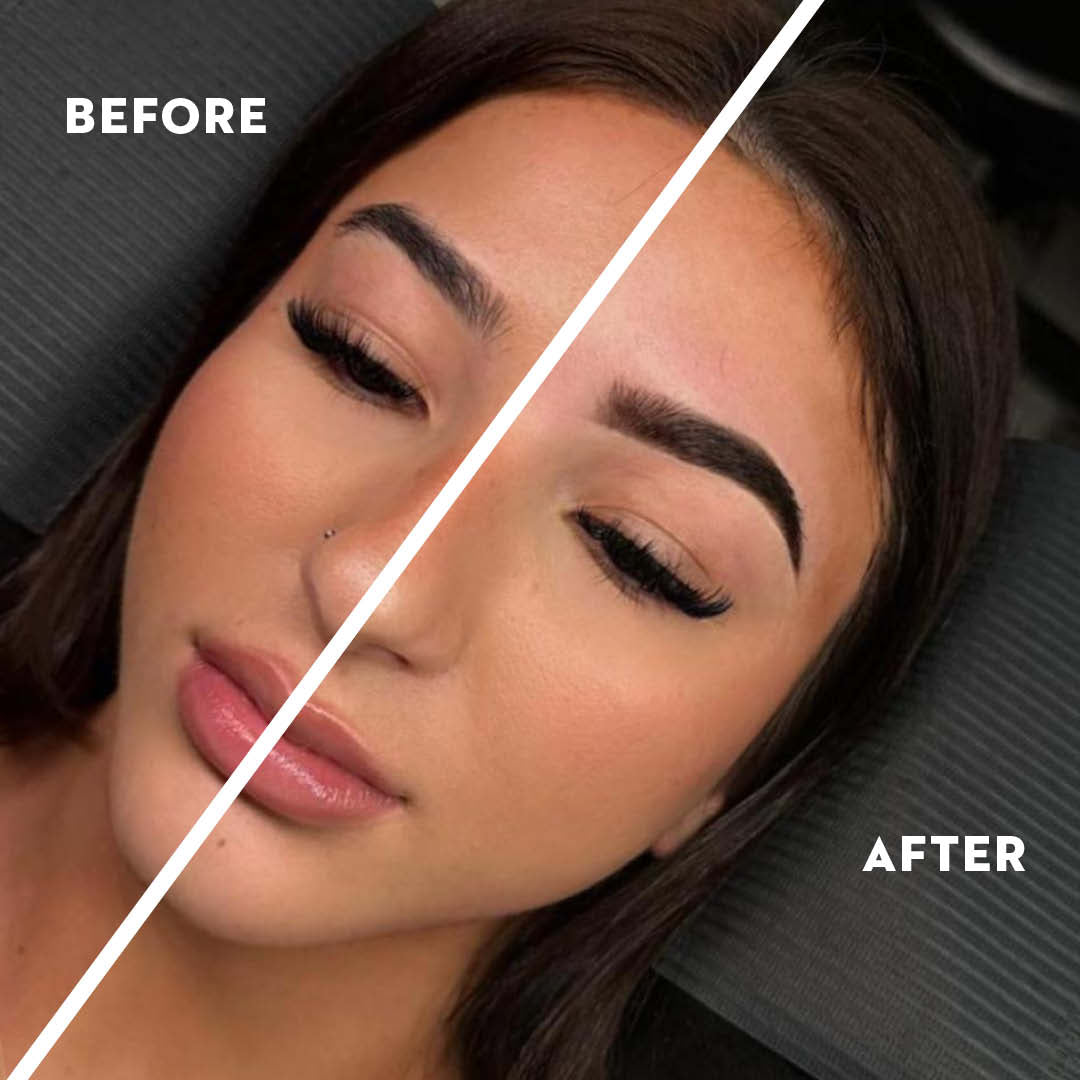
- Once confident and you are ready to apply to the eyebrows, ensure eyes are closed when spraying across brows. Also you must avoid contact with the eye area (please refer to the product instructions and cautions before use). Hold 5cm away from clients' brows, hold down the trigger nozzle. Starting from the tail of the brow heading to the front of the brow, spray a light layer and reapply if required. Make sure the brow is well covered with the mixture to create a bold look.
- If you see any mixture that is outside of the brow shape from Airbrushing, use Dye Remover (please refer to the product instructions and cautions before use) This will remove unwanted colour on the skin.
- Allow the mixture to sit on the brows for 10-15 minutes. Maximum 15 minutes. Depending on the intensity of the look you want to create.
- Remove Silicone Brow Shaping Stencils & wipe away the mixture from the brows (please refer to the product instructions and cautions)
- If there is any mixture that has gone outside of your brow shape, apply a small amount of Dye Remover to a micro brush or a cotton tip, and gently wipe the area. Repeat if needed. Wash off residue with water.
- Time to show off your new stunning brows!
CLEANING DIRECTIONS:
- After each application, ensure thorough cleaning of the Airbrush Machine.
- Disassemble the metal cup from the Airbrush Machine and rinse it under running water.
- Attach the large plastic cup onto the machine, fill it with water, and activate the machine.
- Apply pressure to the nozzle with a cotton ball while gradually pulling the trigger to expel water until it runs clear. Repeat this process twice more.
- Subsequently, remove the cotton ball and dispense water into a bowl. Detach the cup and reinstall the metal cup.
- Continue spraying until the water dispensed is clear of impurities.
MAINTENANCE DIRECTIONS:
1. Disassemble the housing to access the internal components.
2. Loosen the needle nut by rotating it.
3. Extract the elongated built-in needle.
4. Thoroughly clean the needle using a lint-free cloth.
5. Allow all components to air dry completely before proceeding with reassembly, ensuring careful attention to detail during the process.
CHARGING DIRECTIONS:
Connect the USB charging cable to the designated port on the Airbrush machine, and the opposing end to a power adaptor or computer. Never leave Airbrush Machine unattended when charging.
CAUTION:
This Airbrush Machine is designed exclusively for use with One V Salon Liquid Dye and One V Salon Airbrush Activator only. DO NOT use Developer Cream 3% as it will damage the Airbrush Machine, so it is strictly prohibited.


